TimeTree basic guide

For new users

TimeTree basic guide

Guide to the basic steps starting from downloading the app to sharing a calendar with others.

Register TimeTree account and share your calendar

Create an account to start

Tutorial Step 1

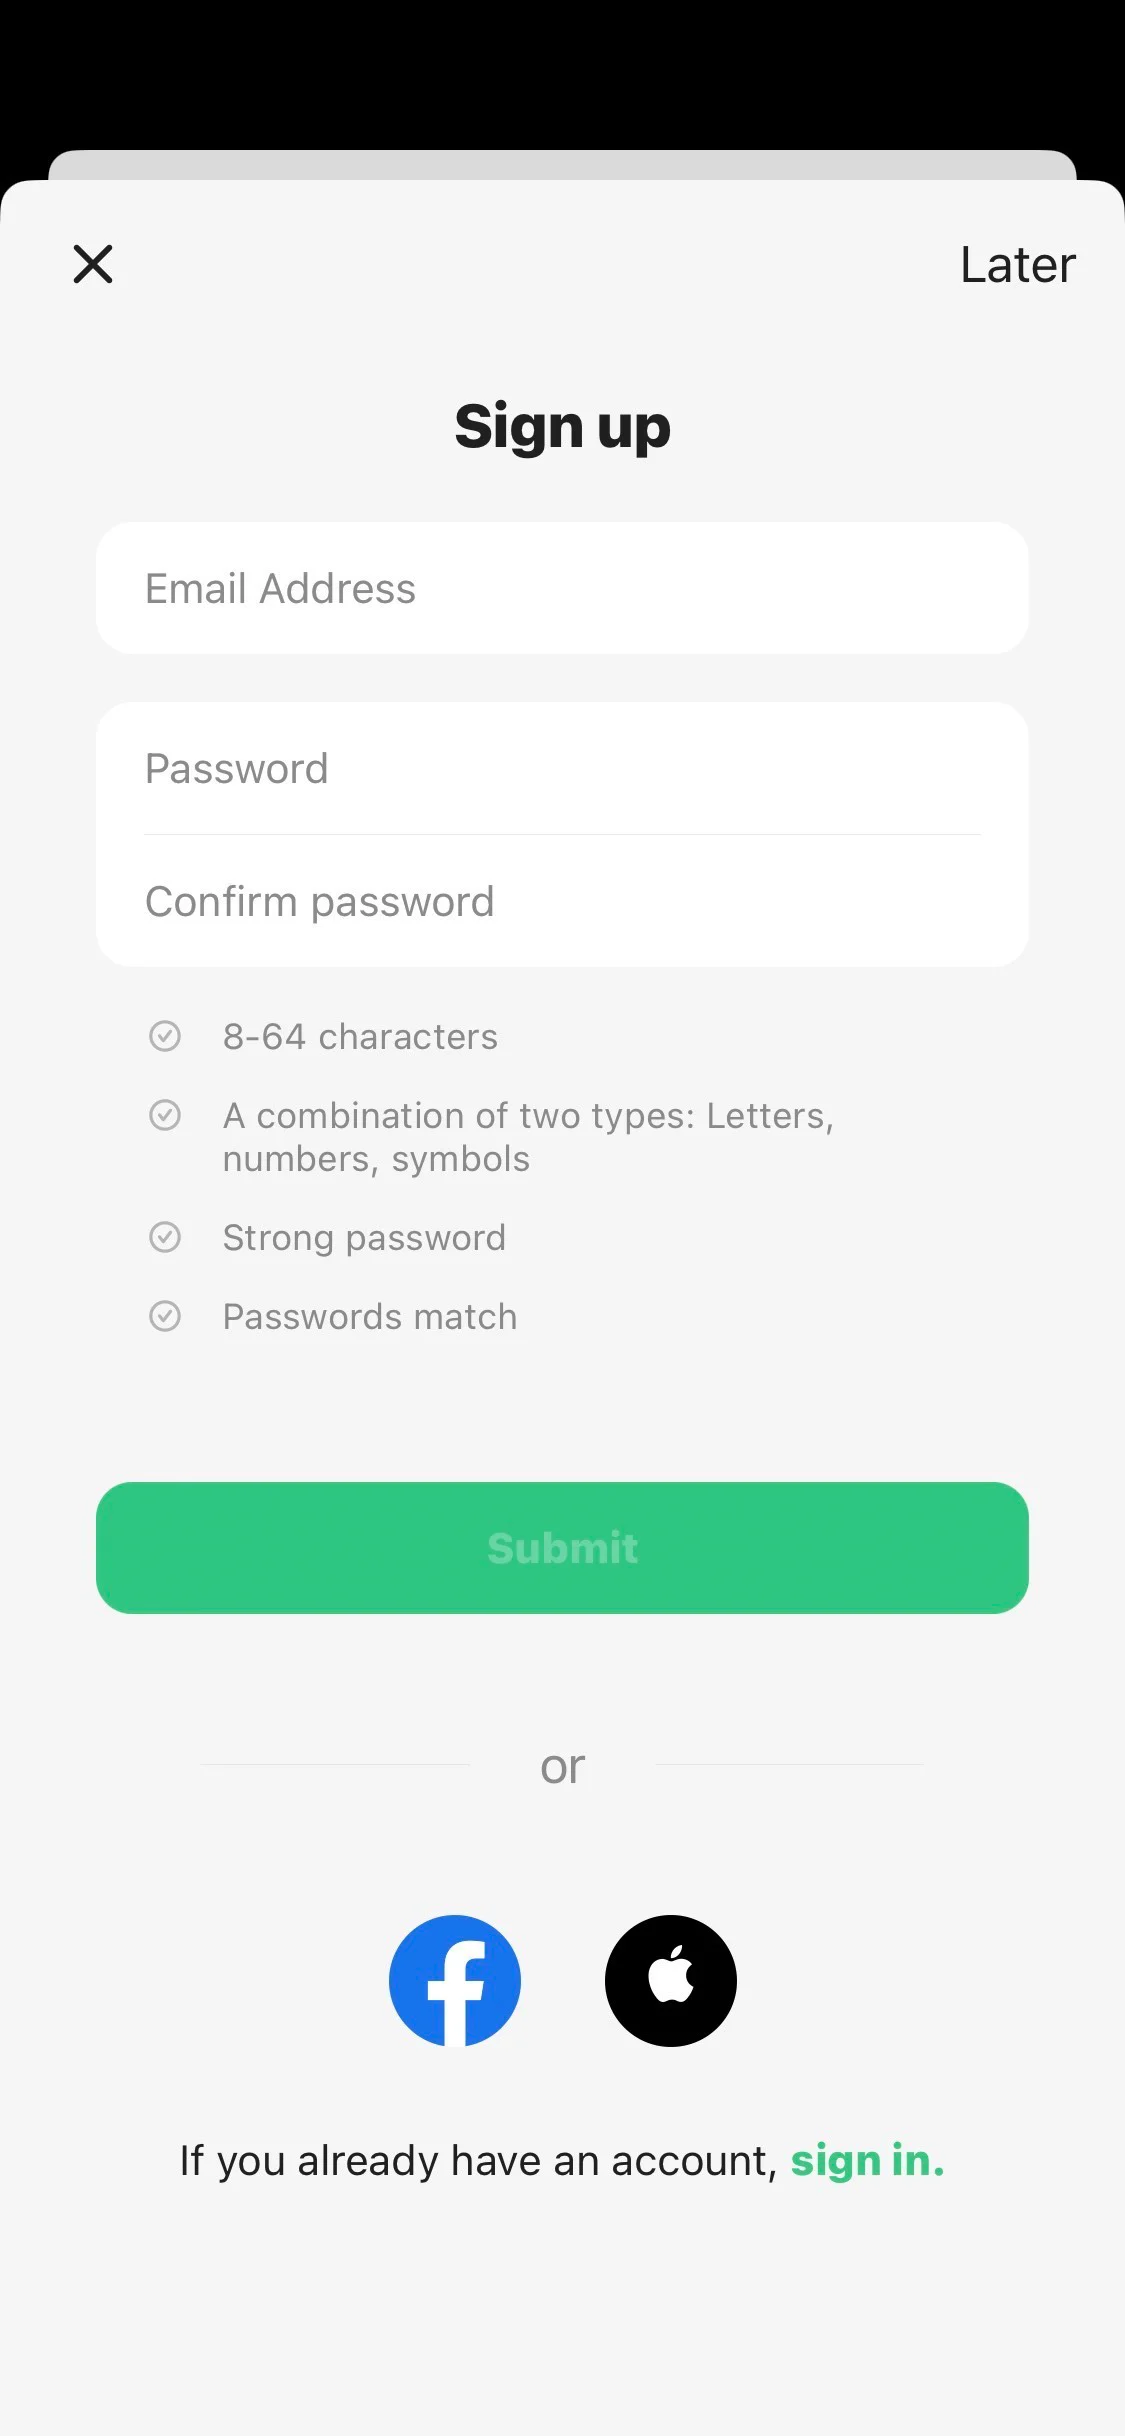
Tap "Start", enter your email address and password, and then tap "Register". You can also create an account with Facebook or Apple ID.

Enter your email address and password to create an account

Tutorial Step 1

You can also register the account after starting! We recommend registering the account so that you can check your calendar at any time. A confirmation email will be sent to the registered email address, so please check it.

Set up your profile

Tutorial Step 1

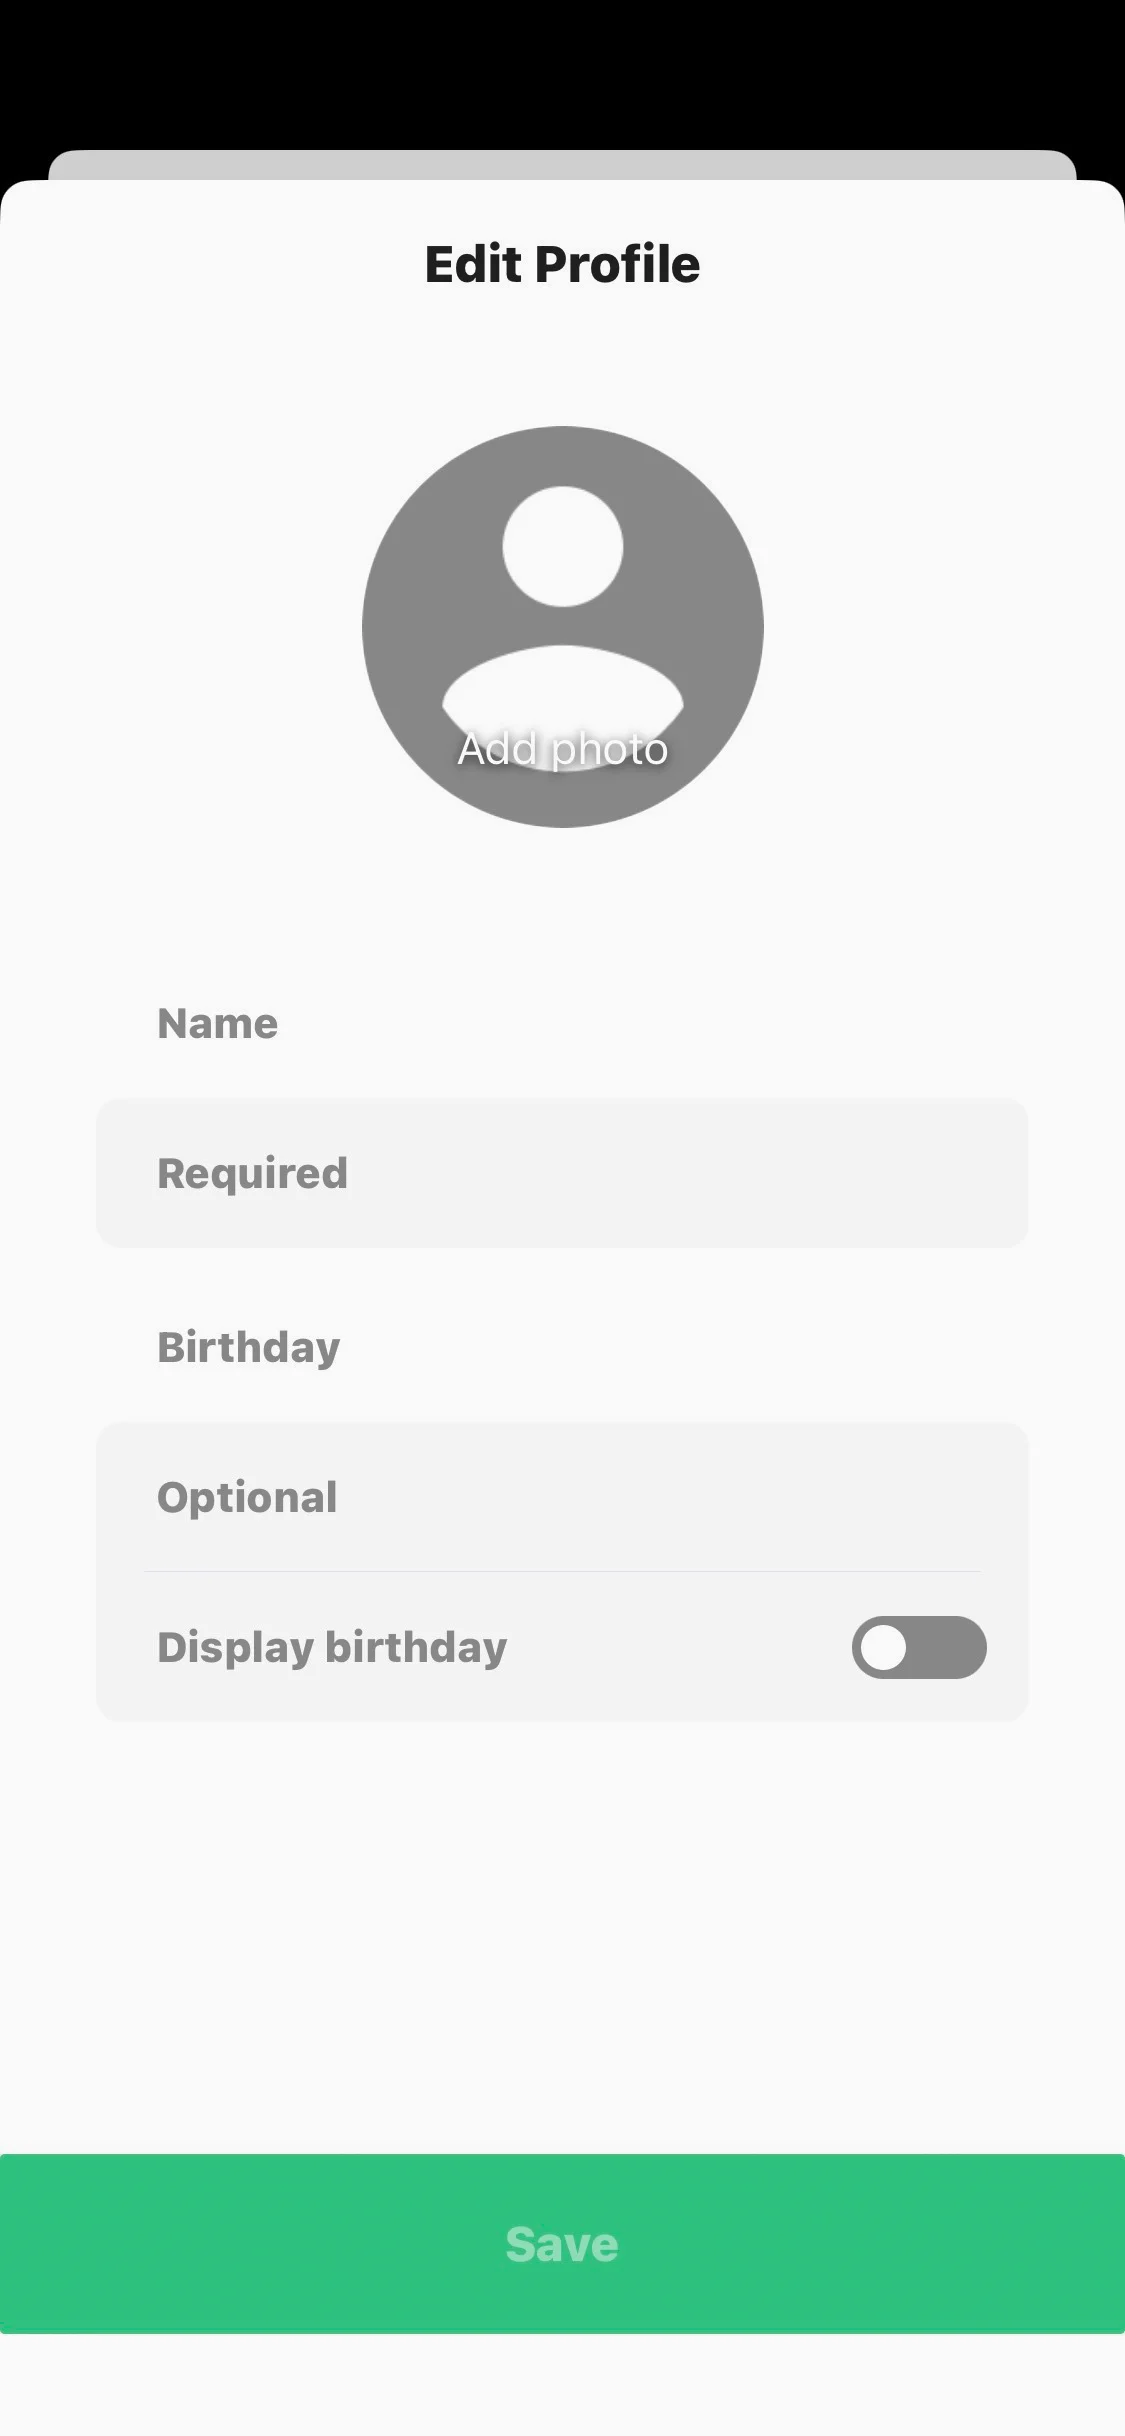
Add a profile icon and a nickname so that it is easy to see who is adding events and appointments. Select the purpose of the calendar you wish to create.

Invite members in your preferred way

Tutorial Step 1

Each invitation link is valid for 7 days. To invite after 7 days, please create and send the invitation link again.

Create an account and join the shared calendar
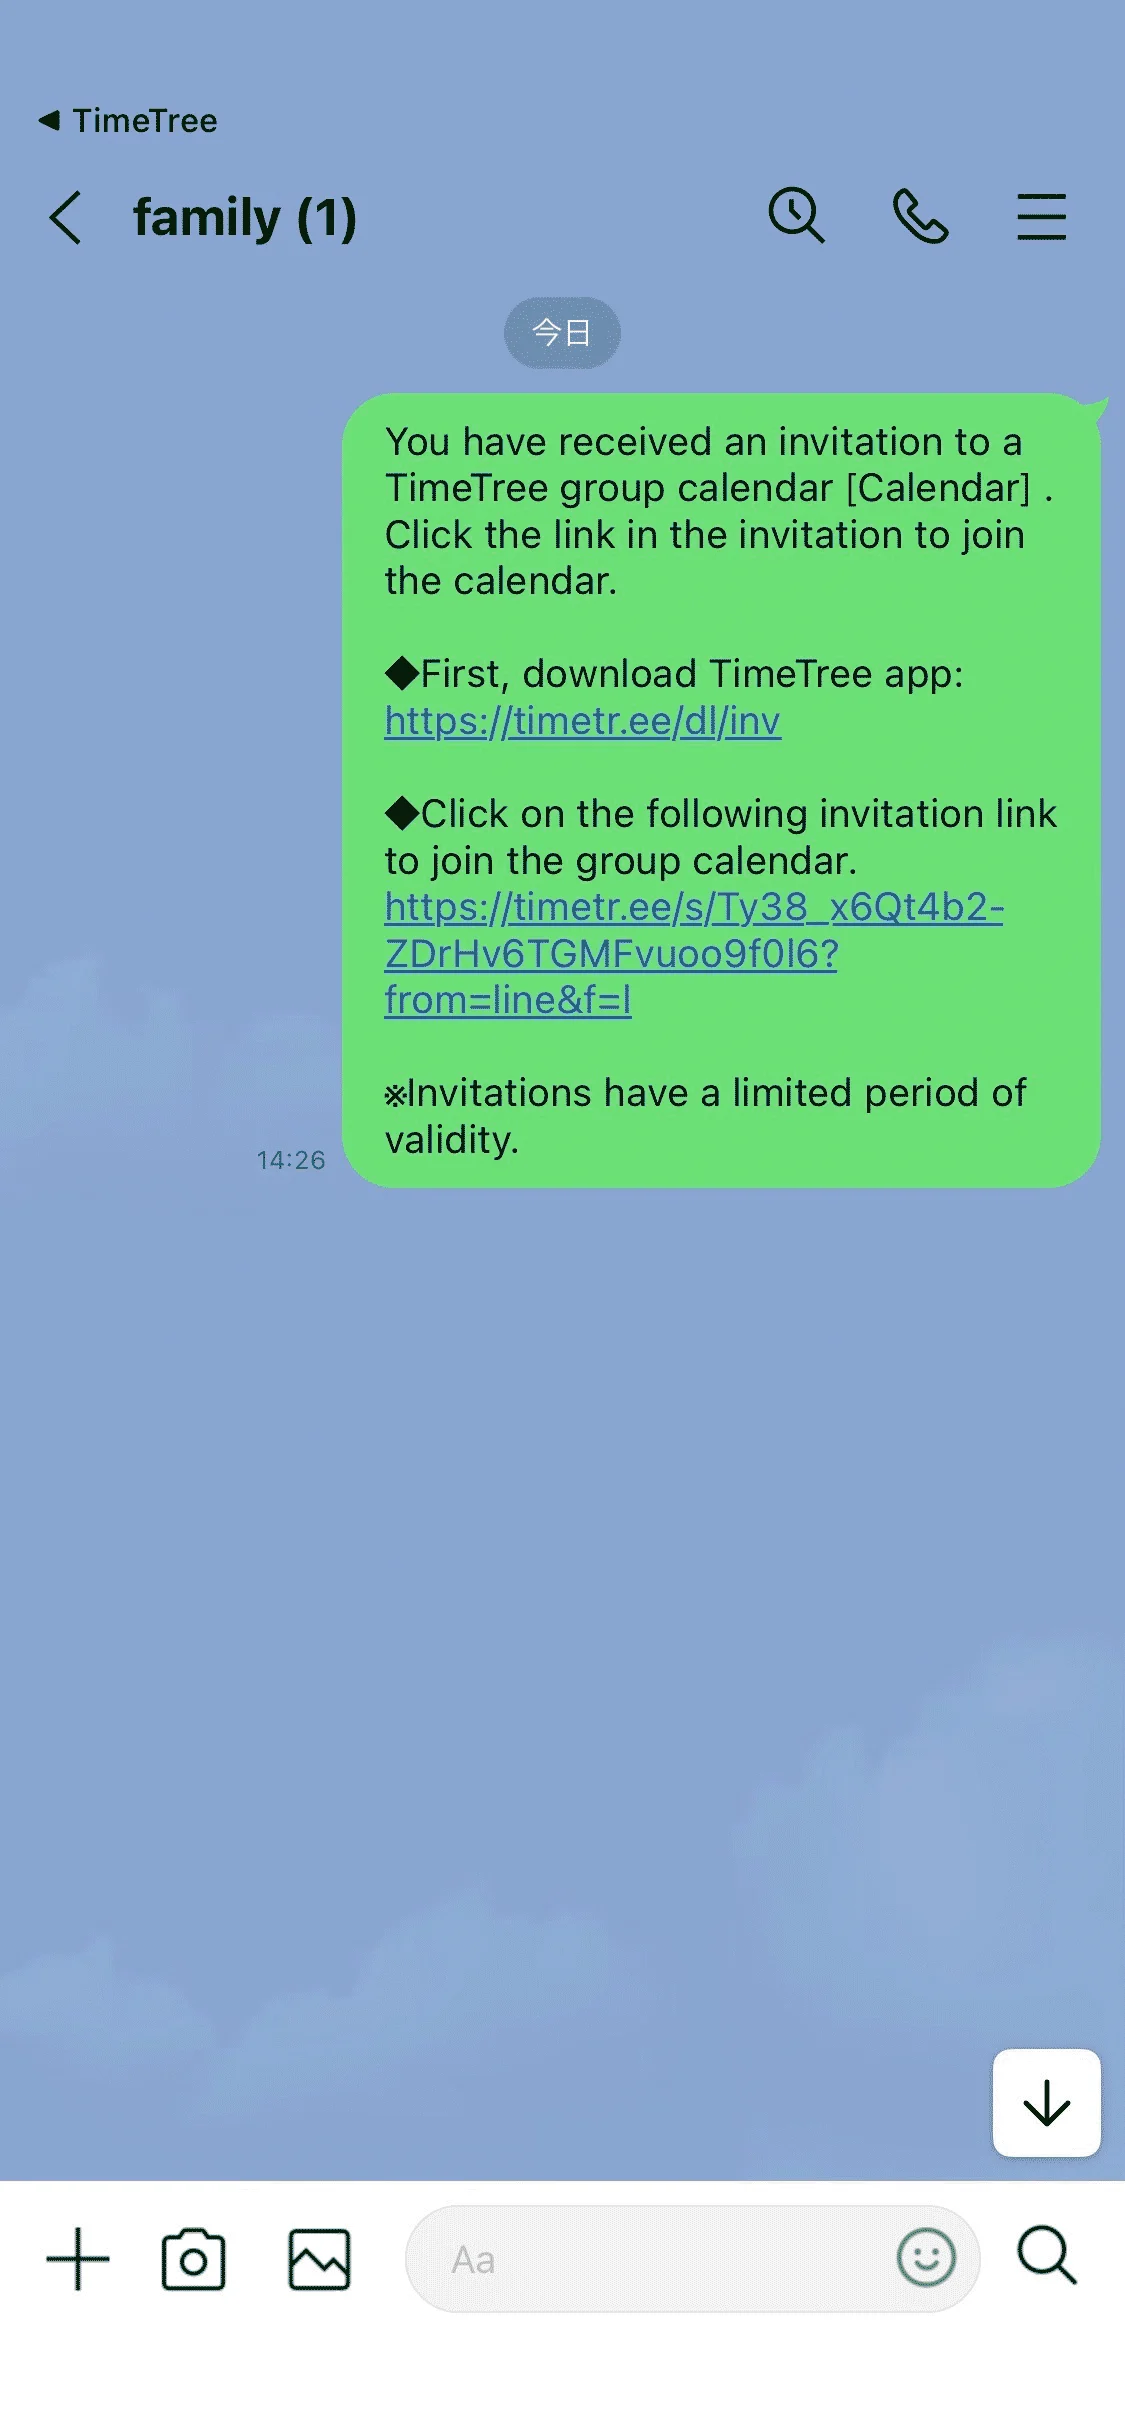
Check the invitation link

Tutorial step 1

If you are new to TimeTree, please click the link to install the application first.

Create an account

Tutorial step 2

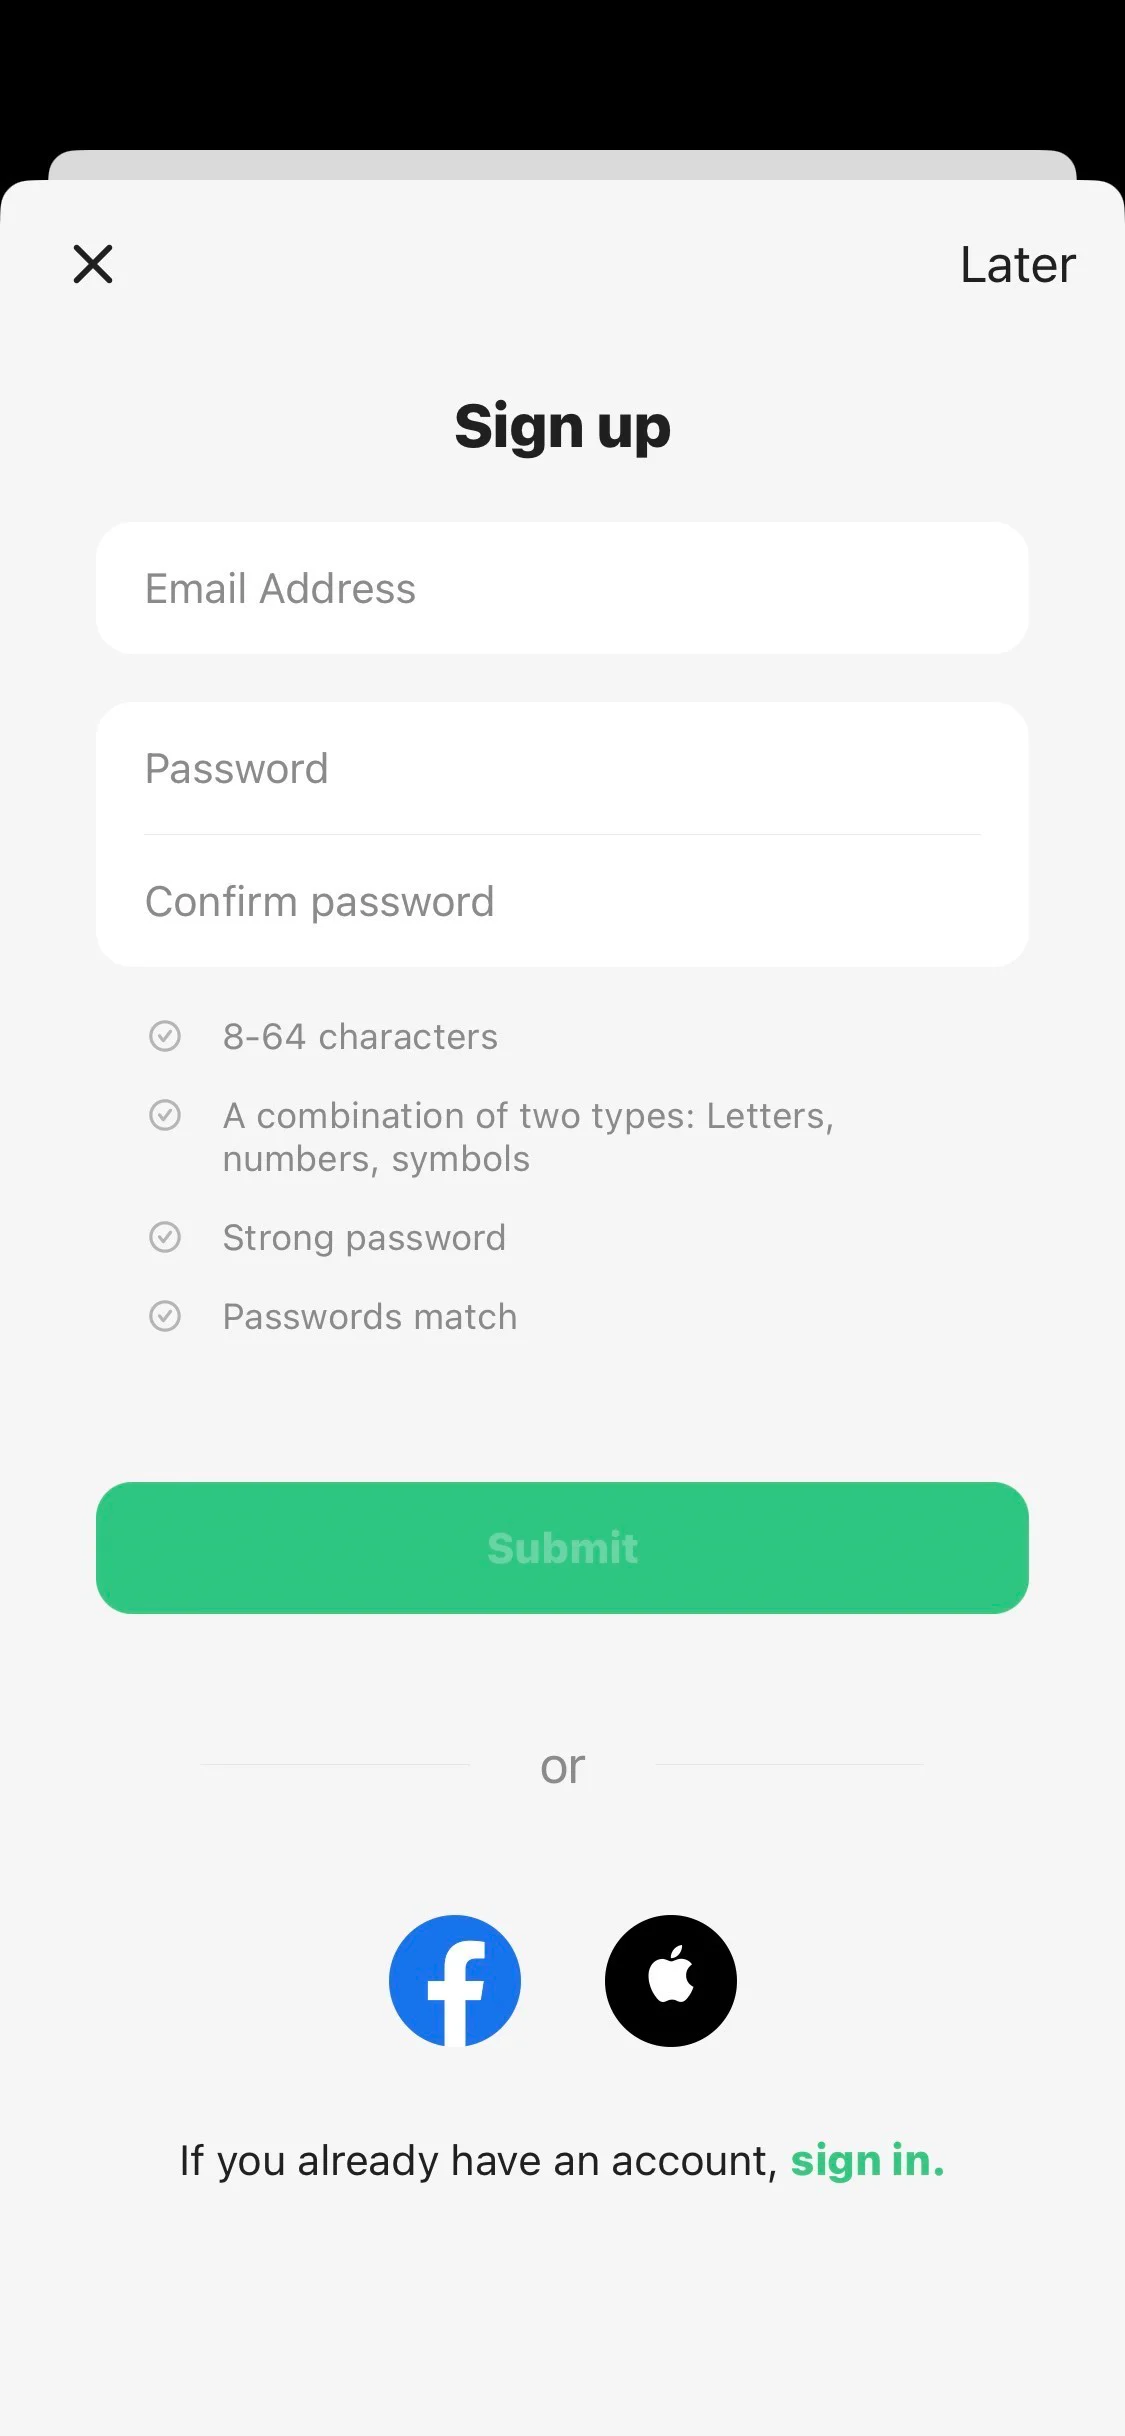
After entering your email address and password, tap "Register Account". You can also create an account with Facebook or Apple ID.

Join calendar

Tutorial step 3

Tap the invitation URL, confirm the calendar name and members, and tap "Join this calendar".

Select a profile

Tutorial step 4

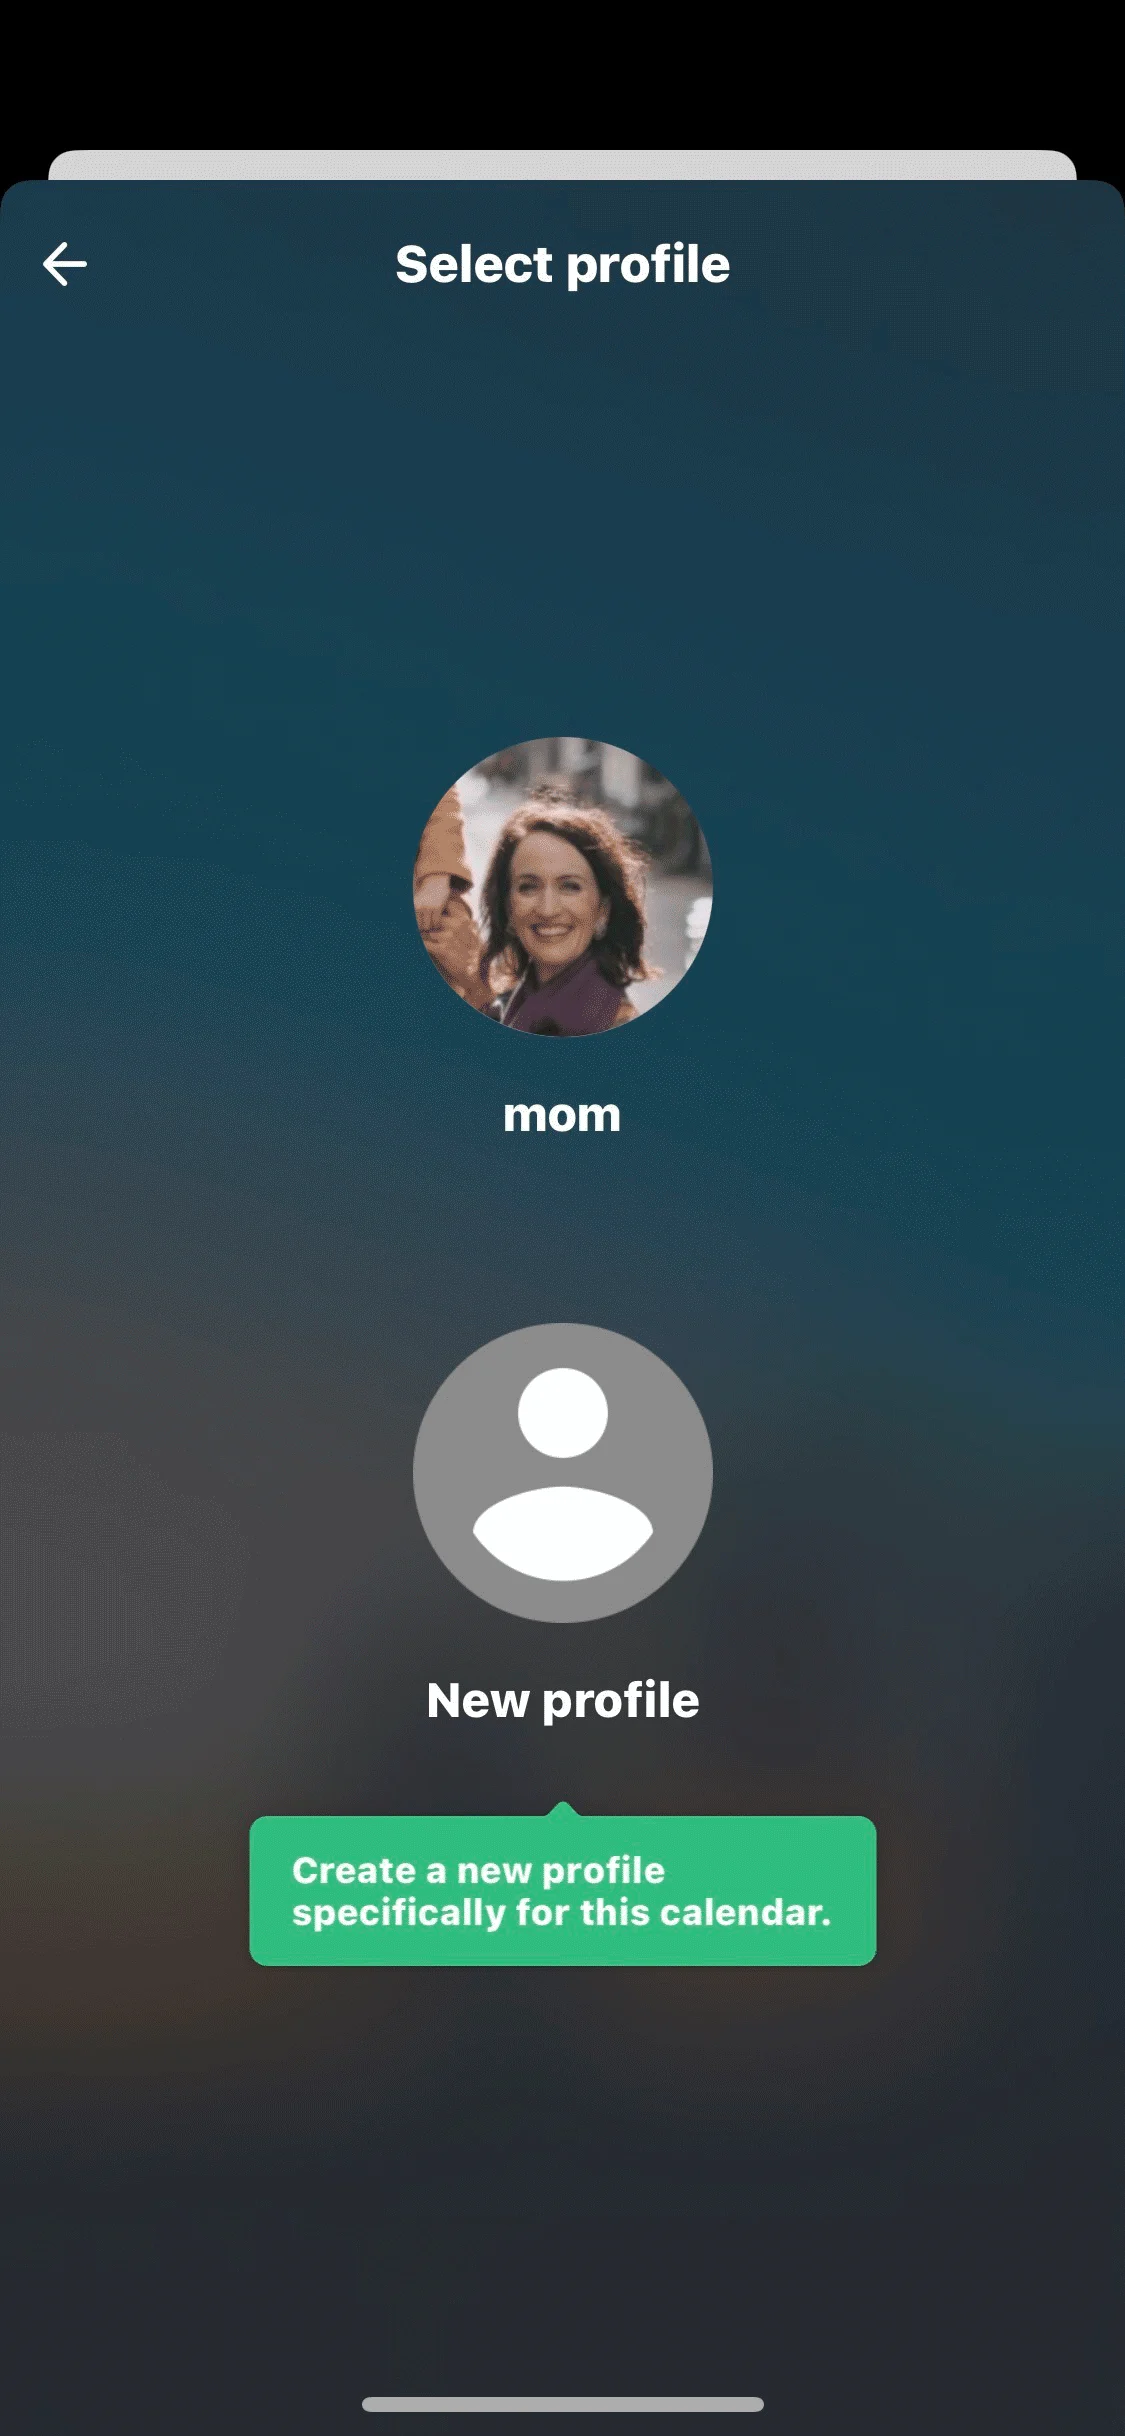
You can also create a separate profile for each calendar.

Display other OS calendars in TimeTree
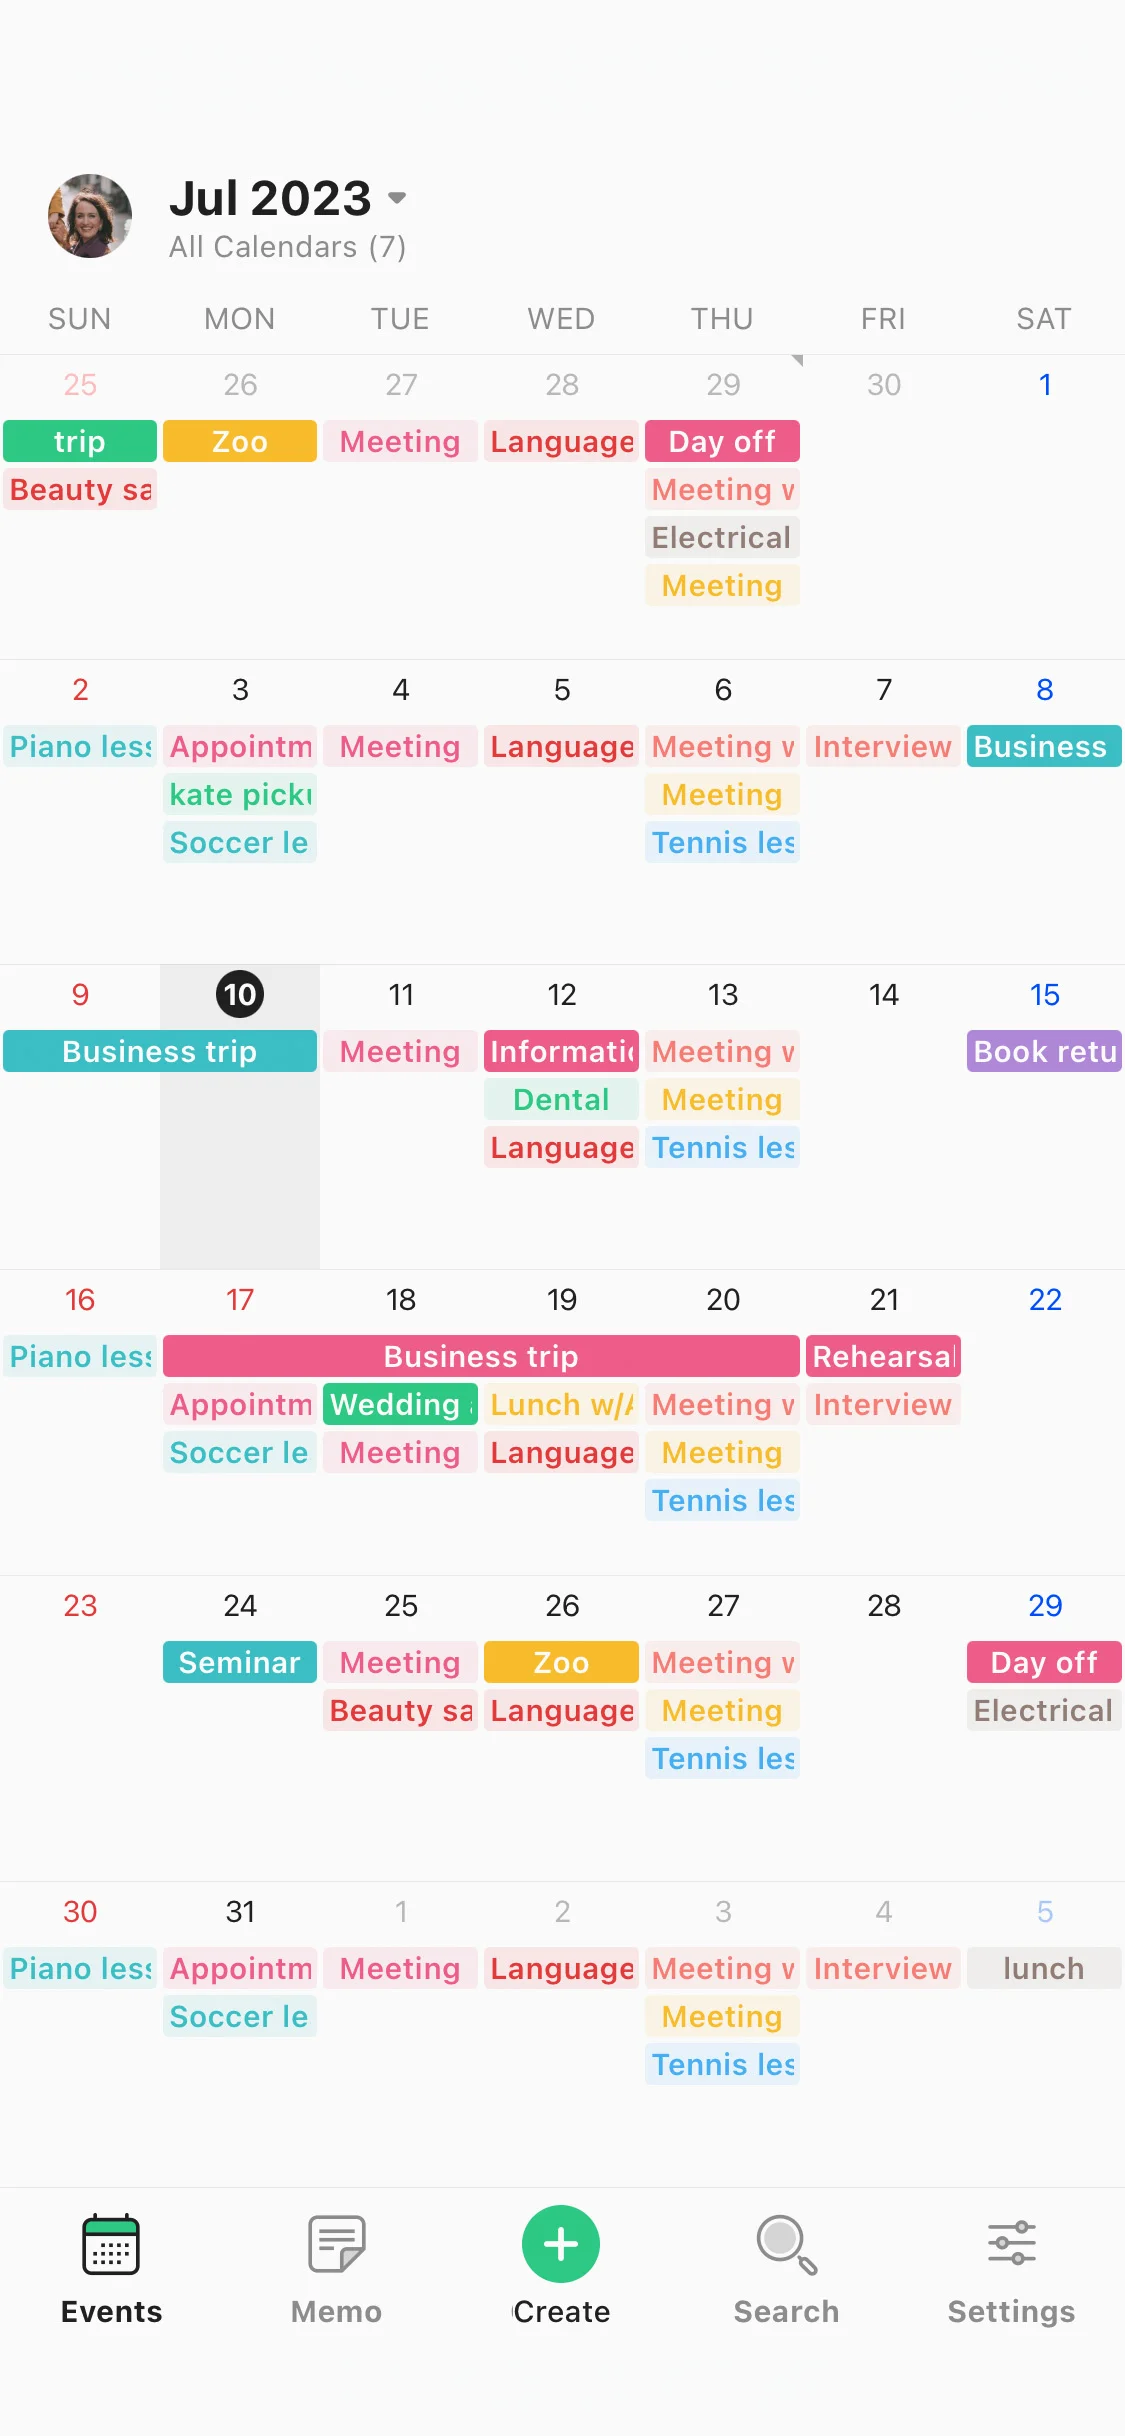
Go to the main menu

Tutorial step 1

Tap the image icon in the upper left corner to open the main menu.

Tap open the "All Calendars"

Tutorial step 2

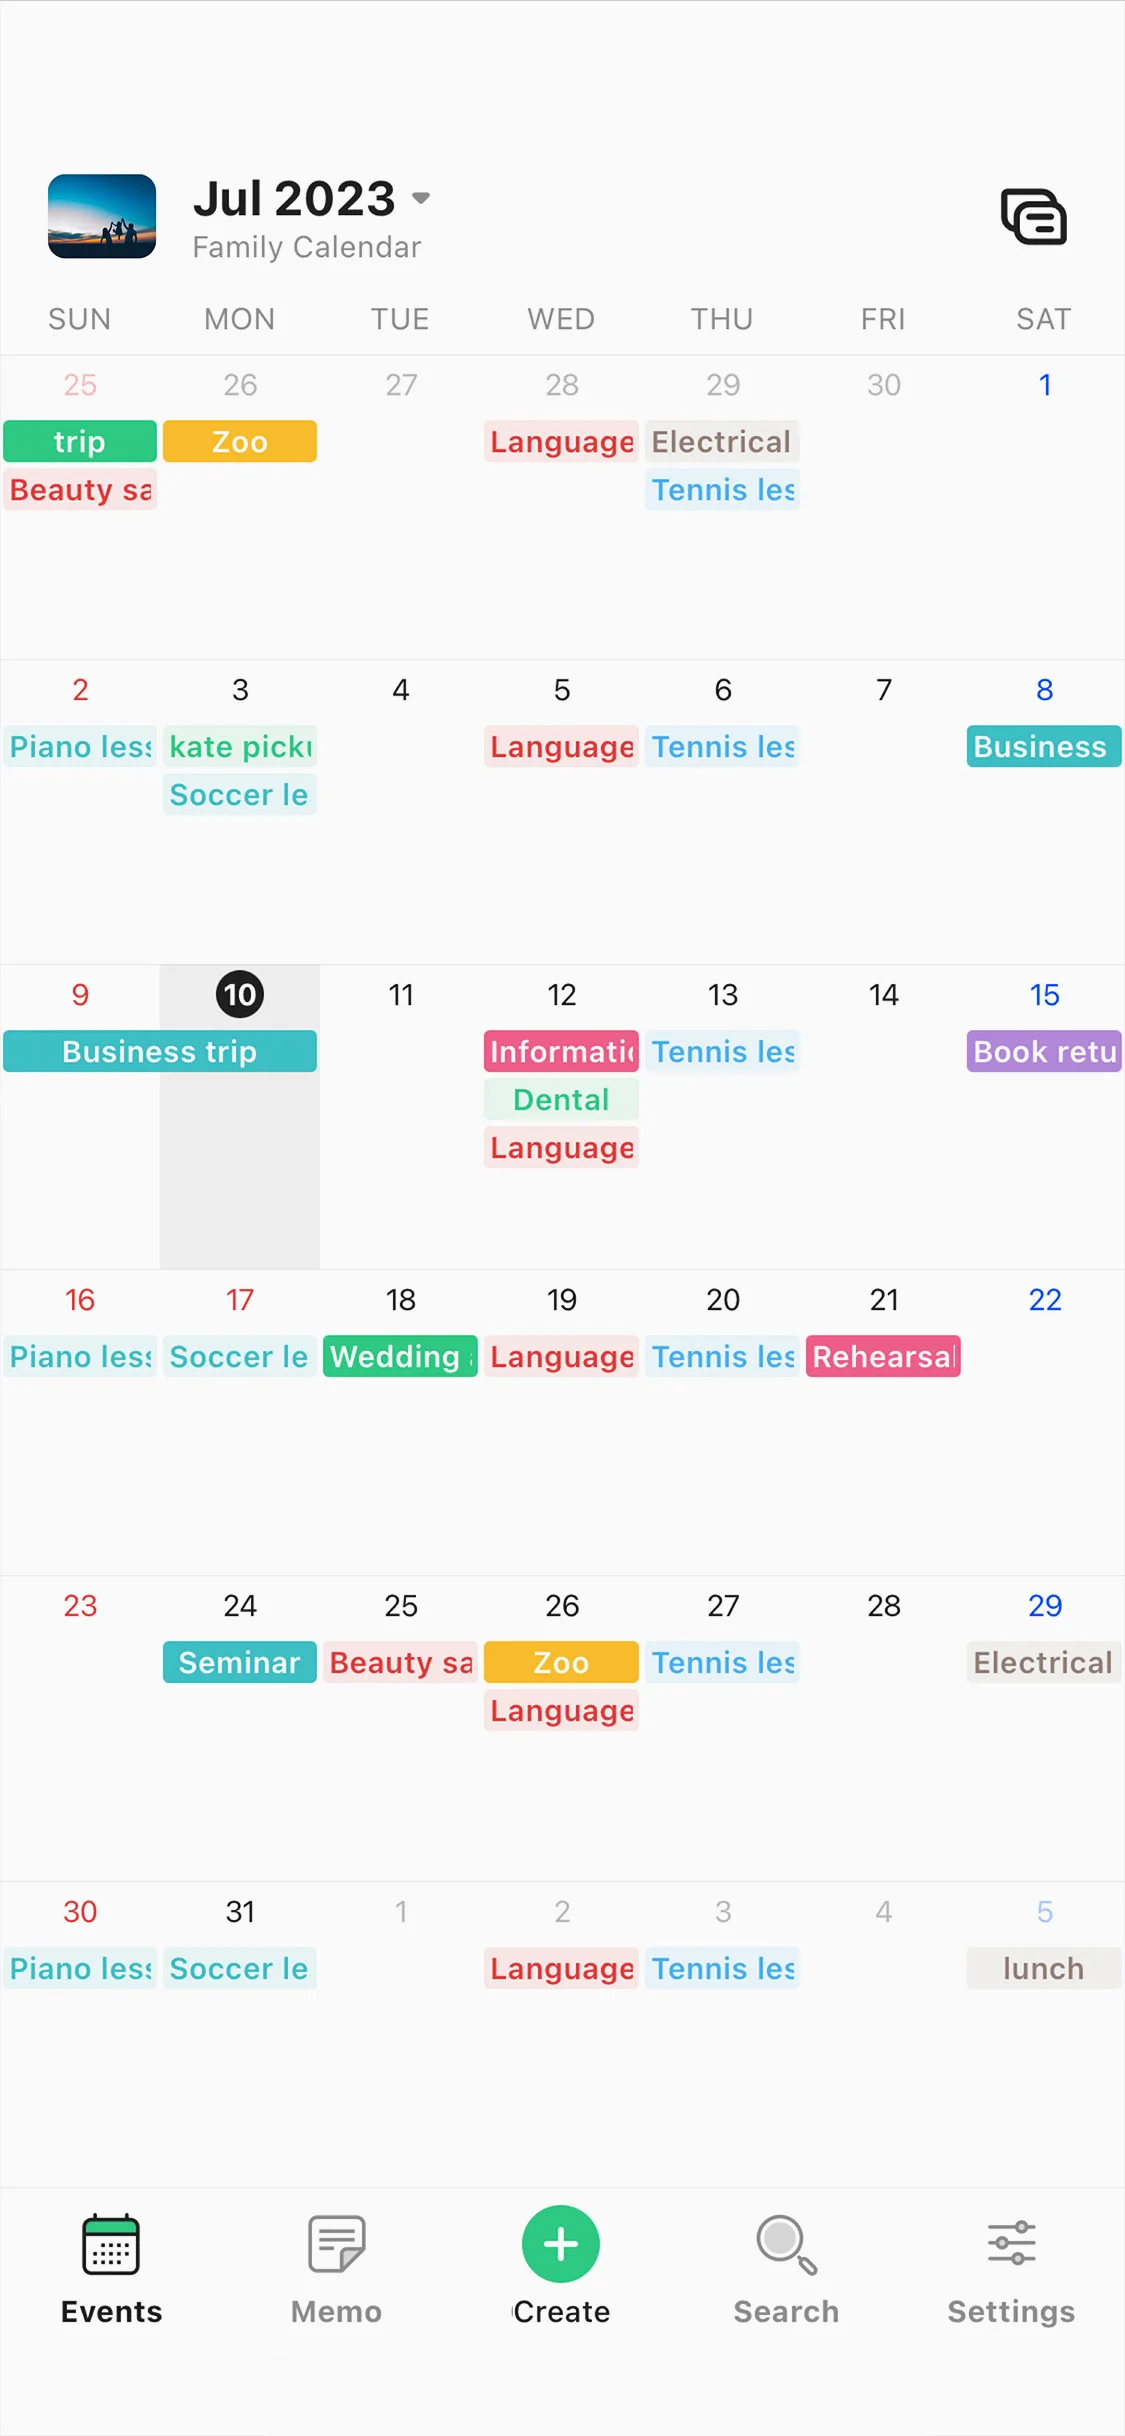
In the "All Calendars" view, you can views multiple calendars at the same time.

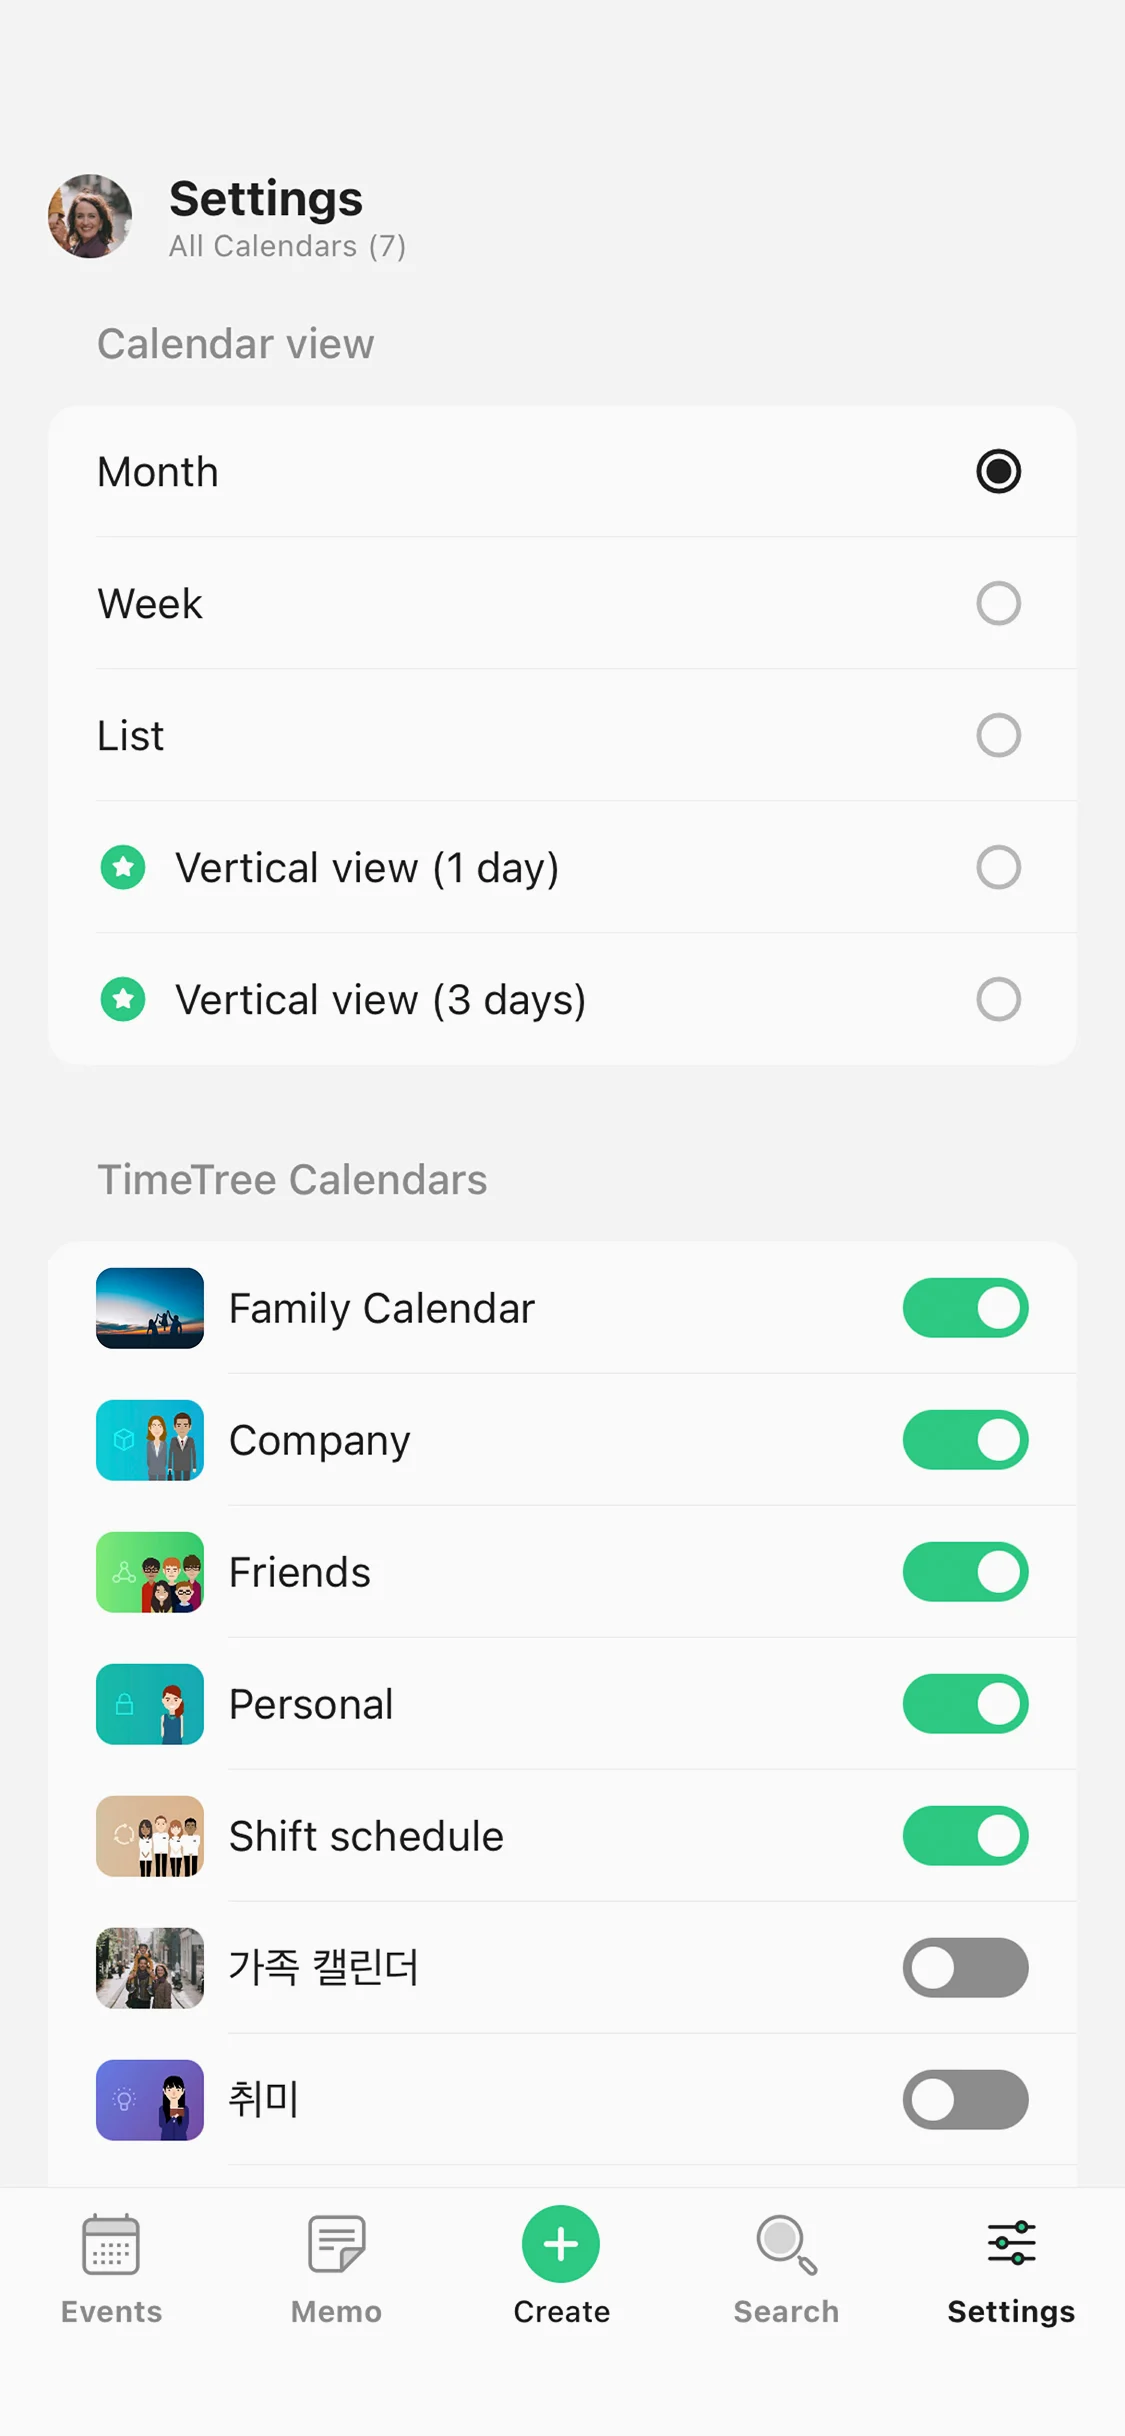
Open settings

Tutorial step 3

Tap "Settings" at the bottom right corner.

Select calendars to display

Tutorial step 4

Select here the calendars and shared calendars you wish to view together. *The "All Calendars" view is visible only to you.

Share other calendar with others

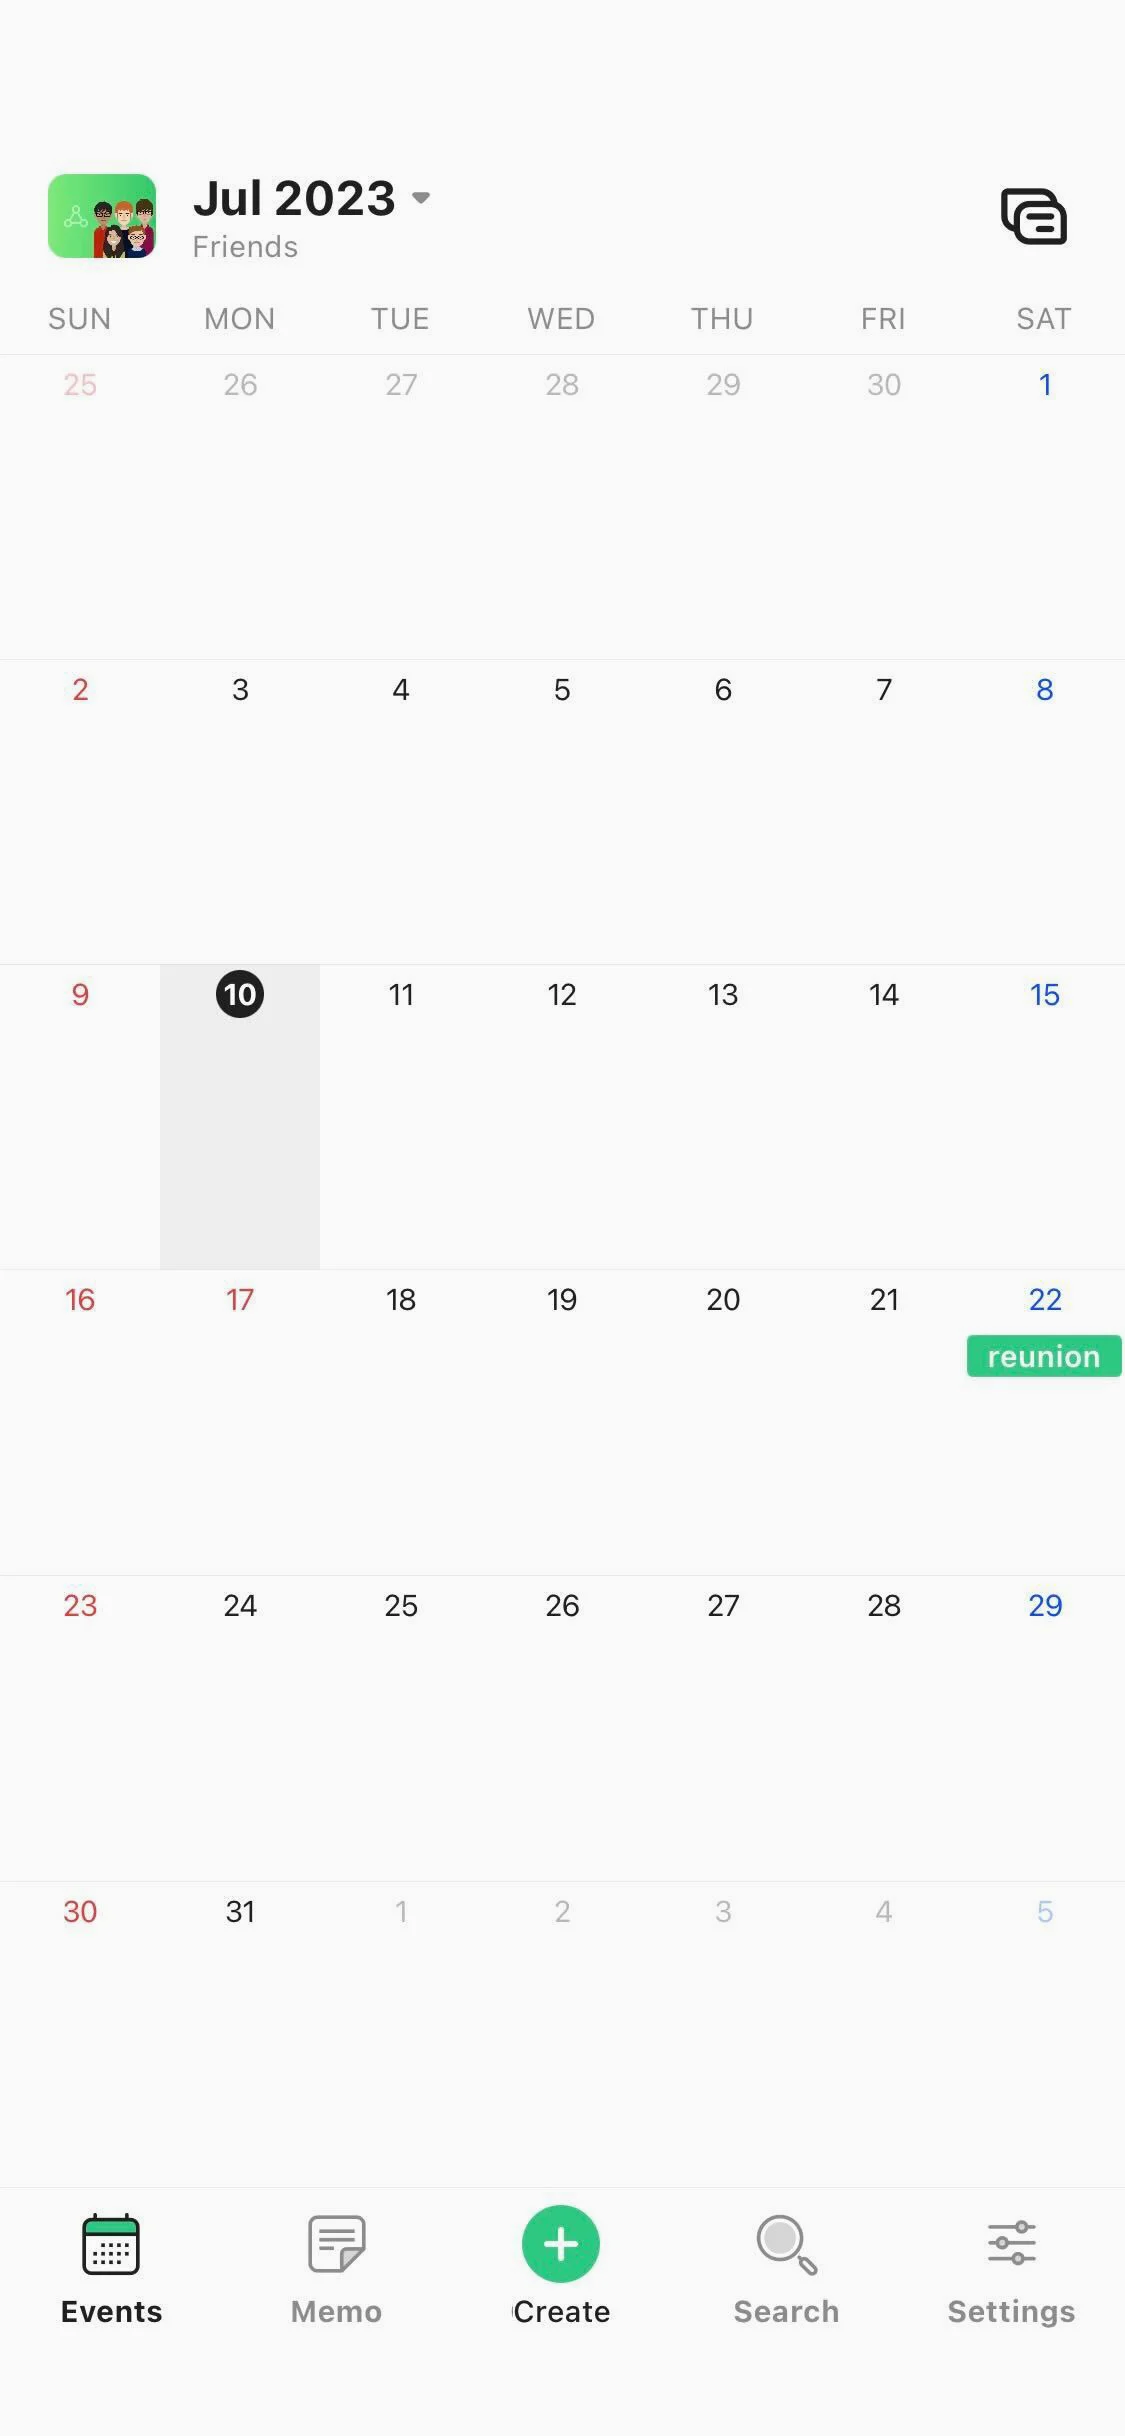
Open shared calendar

Tutorial step 1

Go to the main menu by tapping the image icon in the upper left corner. And select the shared calendar you want to copy the external calendar to.

Open calendar set up

Tutorial step 2

Tap "Settings" on the bottom right corner of the screen.

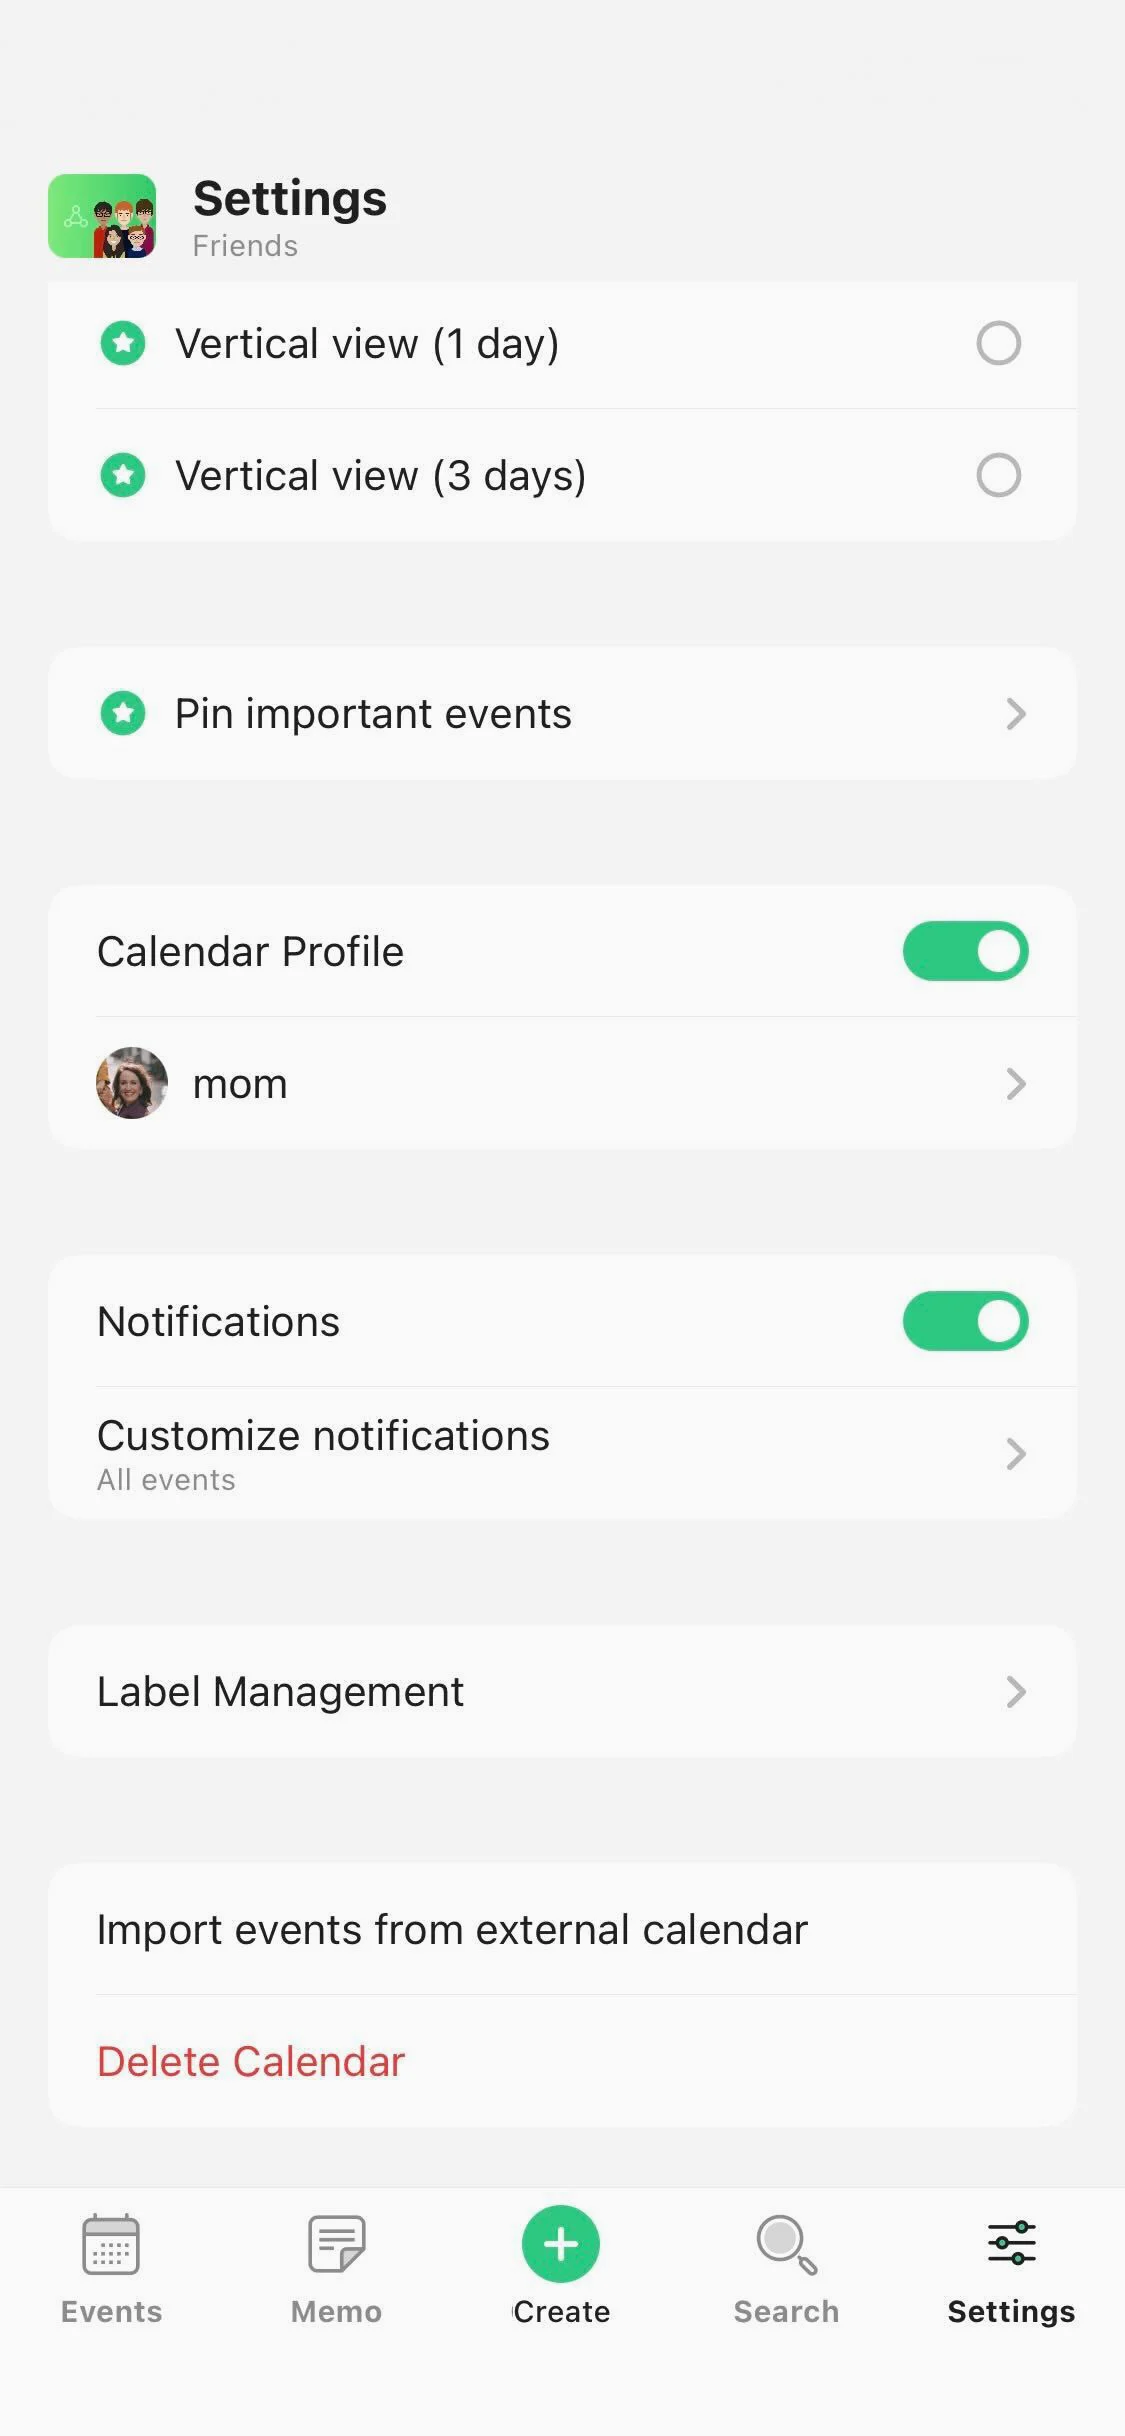
Scroll down the calendar settings

チュートリアルステップ3

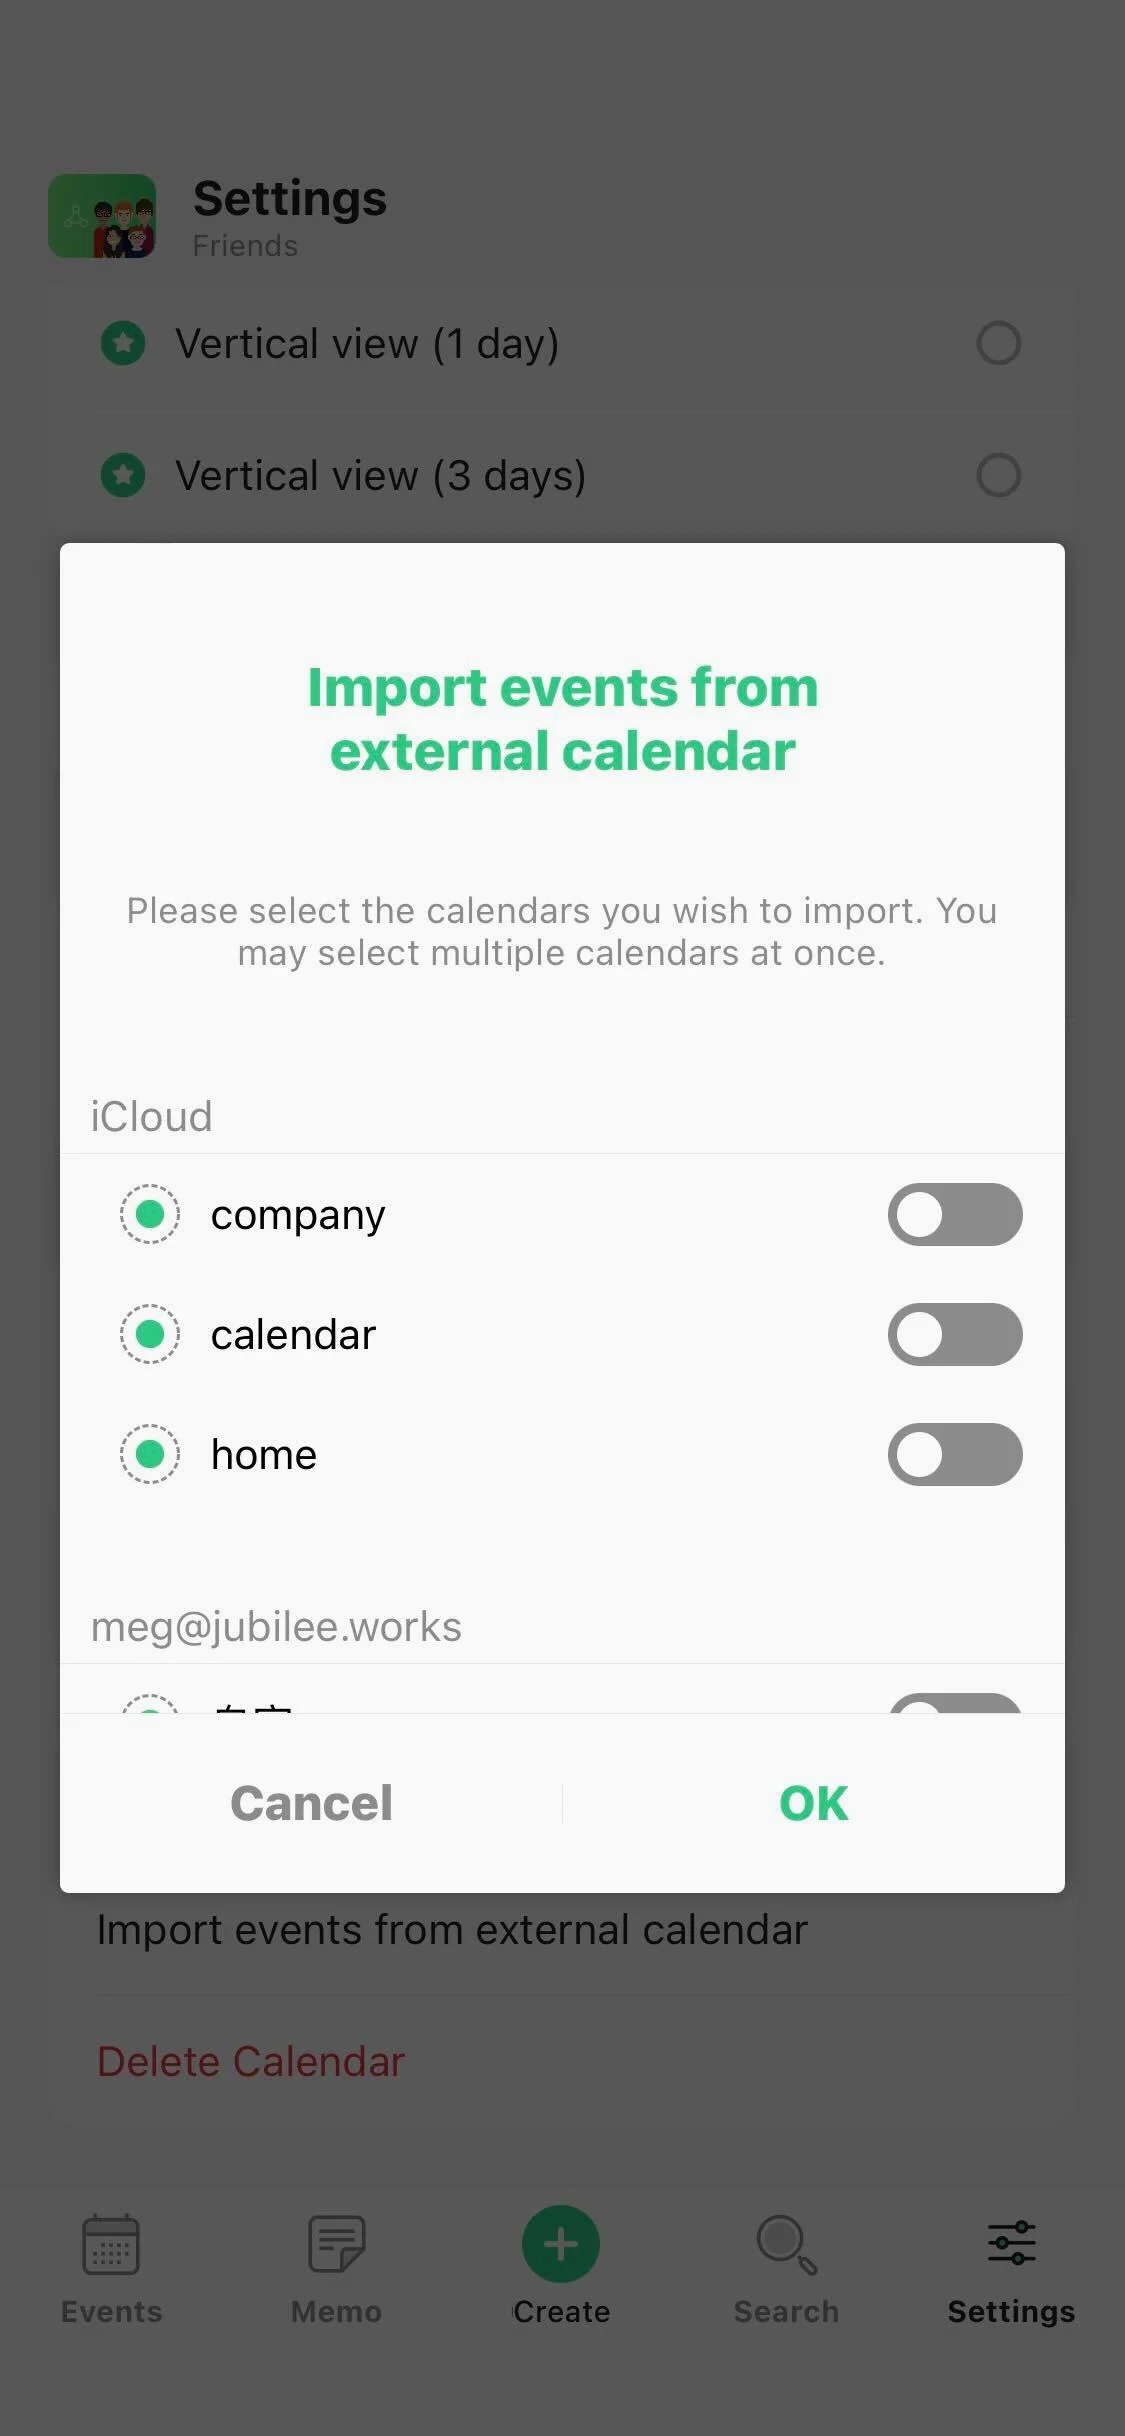
Select "Import events from external calendar".

Copy events from external calendar

Tutorial step 4

Select the external calendar you want to copy and tap "OK". Change the event color by pressing the "●" next to the calendar name. * Note that the events will also be visible to the person who you are sharing the calendar with.

Basic Usage Guide PDF

Basic Usage Guide

Basic Usage Guide PDF

For new users of TimeTree, we have put together a step-by-step guide with screenshots to make it easy to understand how to share calendars. The PDF file is designed to be easily viewed on a mobile phone. Please feel free to use it when introducing TimeTree to your colleagues, friends and family!

Download